Let's be honest, you've probably hunted for the "send recurring" button in Outlook more than once, only to come up empty-handed. It’s a super common frustration. We all have routine emails to send, and the lack of a simple, built-in feature often pushes us into manual workarounds that eat up time and open the door to simple mistakes.
Forgetting to send a weekly report reminder or a monthly client invoice isn't just a minor slip-up; it can throw a wrench in entire workflows and even affect the bottom line.
This is where finding a solid automation solution becomes less of a convenience and more of a critical productivity hack. Getting these emails automated means they go out consistently, every single time, freeing you up to focus on work that actually requires your brainpower instead of just managing calendar alerts.
Why Recurring Emails Are a Productivity Game-Changer
Setting up a microsoft 365 recurring email can be a total game-changer, completely wiping out the need for manual follow-ups. While Outlook doesn't give you that one-click solution, this guide will walk you through the best ways to get it done using the tools you already have.
Real-World Scenarios Where Automation Is Key
The need for a microsoft 365 recurring email pops up in just about every professional role you can think of. These automated messages are the invisible engine that keeps important, repeatable tasks chugging along.
- Project Managers: Sending out those weekly nudges for timesheet submissions or status reports. It's the only way to keep projects on track without chasing people down.
- Small Business Owners: Dispatching monthly invoices to clients or sending a regular newsletter to subscribers. It has to happen, without fail.
- Accountants: Notifying clients about upcoming tax deadlines or requesting financial documents at the end of each quarter.
- Team Leaders: Circulating the weekly meeting agenda every Monday morning so everyone shows up prepared and ready to contribute.
Each of these is a perfect example of a repetitive, rules-based task that’s just begging to be automated. While sending one email seems trivial, the time spent on these tasks really adds up.
By automating these communications, you're not just saving a few minutes here and there—you're saving dozens of hours over the course of a year. More importantly, you're building a reliable, professional workflow that runs itself, even when you're swamped with other priorities.
This guide will show you exactly how to tackle this problem head-on using the powerful tools already baked into the Microsoft 365 ecosystem. Once you master these techniques, you can turn a common annoyance into a massive efficiency boost. Getting a handle on recurring task management is a foundational step toward smarter workflow automation.
Automating Emails with Power Automate
If you're looking for a genuine "set it and forget it" way to send a microsoft 35 recurring email, your best bet is Power Automate. This isn't just a simple reminder tool; it's a full-blown automation platform that’s already part of your Microsoft 365 subscription. Forget manual templates and half-measures—this is where you build workflows that run like clockwork without you lifting a finger.
At its heart, Power Automate lets you create something Microsoft calls a "scheduled cloud flow." Just think of it like a recipe. You set a trigger (the schedule) and then define an action (send this specific email). Once you save it, it just works.
The real magic is in the details. You can have an email go out every single Monday at 9:00 AM, on the 15th of every month, or even every other Friday. It's hands-down the most powerful, built-in method for this job.
Getting Started with Your First Flow
First things first, you need to open the tool. You can find Power Automate by logging into your Microsoft 365 account online and clicking the app launcher, or you can just go straight to its website. The interface is pretty clean and designed to walk you through the process.
Once you’re in, you’re going to create a scheduled flow. You'll give your workflow a name, pick a start date and time, and then tell it how often to run. It's all very straightforward.
This simple process—moving from a manual task to an automated one—is where you really start to see productivity gains.
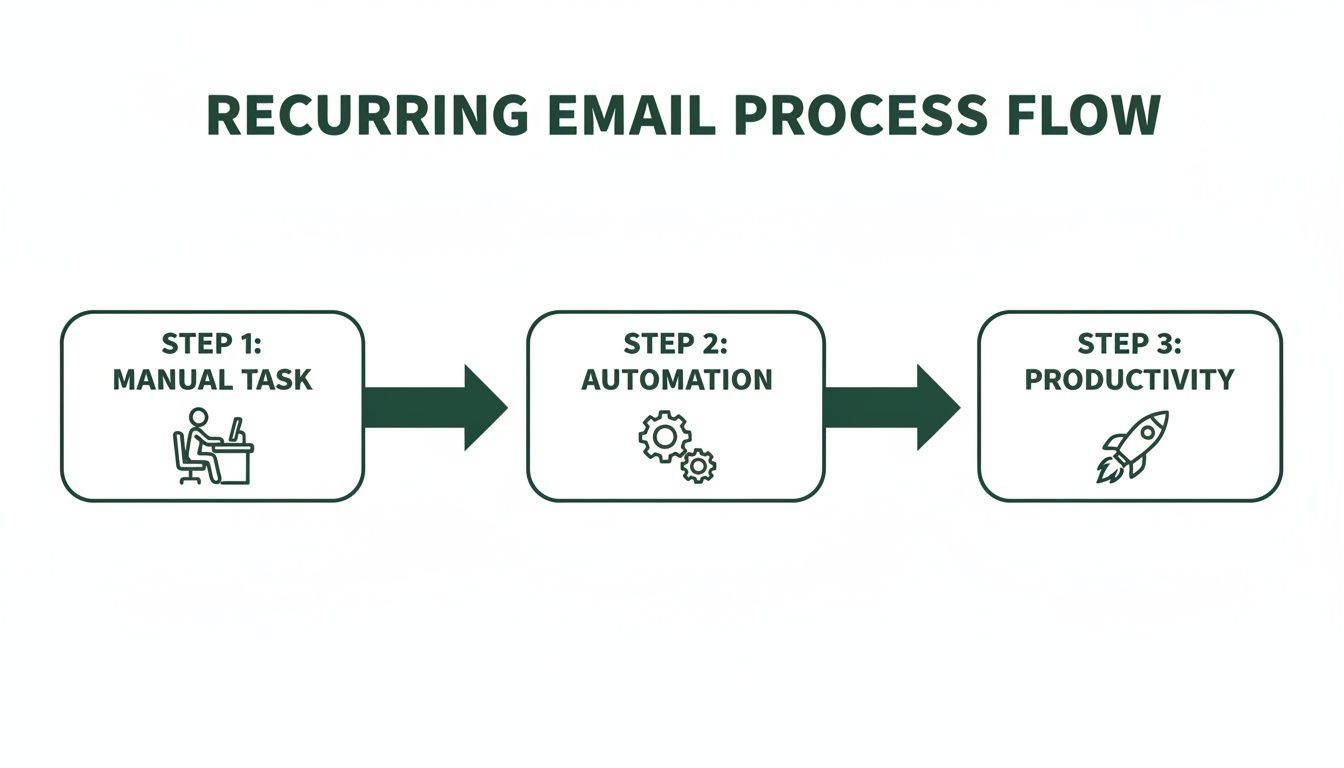
Automation is the bridge that gets you from repetitive work to real efficiency, and a scheduled email is a perfect example of that.
Building the Email Action
Okay, so you've set your schedule. Now what? You have to tell the flow what to do, which is to send an email. You’ll add a new action step and search for "Send an email (V2)" which is part of the Outlook 365 connector. This is where you actually write the email.
You'll see a few familiar fields:
- To: Put the recipient's email address here. For more than one, just separate them with a semicolon.
- Subject: This is your recurring email's subject line.
- Body: And here's where you write the message itself.
But this editor is way more capable than your standard email composer. It gives you a level of control that makes your automated messages feel much more professional.
The true power of Power Automate isn't just sending the same static message over and over. It's about crafting smart, dynamic emails that can adapt on a schedule.
For instance, you can use basic HTML in the body to format your text. Add headings, make text bold, or even create tables. This is perfect if you're sending out a weekly report or a nicely formatted newsletter that needs to look polished. Just switch the body editor to code view and drop in your HTML.
Adding Dynamic Content and Attachments
This is where Power Automate really starts to pull ahead. Instead of just static text, you can insert dynamic content—information that changes each time the email is sent. For example, you could make your subject "Weekly Report - [Current Date]," and the flow will automatically pop in the correct date every time it runs.
All you have to do is click in the field where you want the dynamic data, and a panel with options will appear. A popular trick is using the formatDateTime() expression to make sure the date looks exactly how you want it (like "Monday, June 3, 2024").
You can also include attachments. In the "Send an email (V2)" action, just expand the advanced options to see the attachment fields. You can pull a file directly from OneDrive or SharePoint, which is a game-changer for sending out things like weekly sales reports. It ensures your team always gets the latest version of the document. Getting a handle on these features is a great intro to understanding what is workflow automation and the time it can save you.
By putting it all together—a precise schedule, dynamic content, and automated attachments—you can build incredibly useful workflows. Imagine an email that automatically grabs the latest sales report from a shared folder and sends it to the entire team every Friday afternoon. You set it up once, and it handles the rest. That’s the kind of efficiency we're talking about here.
Look, Power Automate is fantastic for setting up a true, hands-off microsoft 365 recurring email. But let's be honest, it's not always the right tool for the job. Sometimes you just need something simpler without the headache of building an entire workflow from scratch.
Good news is, you can whip up some pretty effective, semi-automated solutions right inside Outlook itself.
These methods won't send emails without your final click, but that's often a good thing. They slash the setup time and mental energy needed for each send, and they're perfect for those tasks where a quick manual check before it goes out is actually a benefit.
Combine Outlook Templates with Calendar Reminders
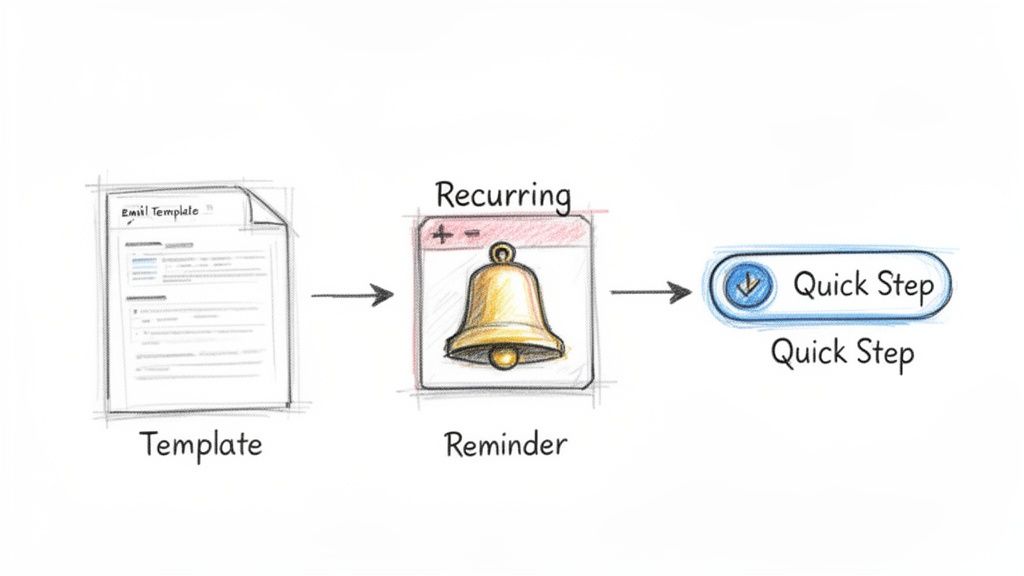
One of my favorite low-tech workarounds is the classic combo: an Outlook email template paired with a recurring calendar event. It’s the best of both worlds—you get a pre-written, perfectly formatted email that’s ready to go, plus a reliable nudge so you never forget to send it.
Here’s the game plan:
- Craft Your Template: First, just write a new email in Outlook. Fill in the recipients, subject, body text, and even attach any files you need. Instead of hitting send, go to File > Save As and choose Outlook Template (*.oft) from the dropdown. Save it somewhere you won't forget.
- Set a Recurring Reminder: Pop over to your Outlook Calendar and create a new appointment. Set it to repeat weekly, monthly, or whatever you need. In the body of the event, leave a note for yourself like "Send weekly project update" and attach the template file you just saved. Super easy access.
Now, every Monday morning (or whenever you set it), a calendar reminder will pop up. All you have to do is double-click the template, give it a quick once-over, and hit "Send." It's a simple system, but it's incredibly effective.
Use Quick Steps for One-Click Actions
If you find yourself sending the same kind of email to the same group of people over and over, you need to be using Outlook's Quick Steps. Think of it as a mini-macro that lets you fire off a series of actions with a single click, like creating a pre-filled email.
To get started, find the Quick Steps box on your Home ribbon and click "Create New." From there, you can build your action sequence. For this, you’d choose "New Message" and pre-fill the To, Subject, and Body fields. Give your Quick Step a memorable name like "Weekly Report Send," and it’ll show up as a button right on your ribbon.
Instead of composing that email from scratch every time, you just click the button. The draft appears, fully populated and ready for you. While it doesn't automate the scheduling, it turns a multi-step task into a single click. It's a fantastic middle ground.
And if you're looking for something that streamlines this even further without getting into Microsoft's heavier tools, you might want to check out a simpler alternative to Zapier for recurring emails that's built just for this purpose.
A Quick Note on VBA Scripts
For the more technically inclined, there’s always the option of a Visual Basic for Applications (VBA) script. This means writing a bit of code directly inside Outlook to create a custom function that can send emails on a schedule.
VBA offers the most power and can achieve true automation right from your desktop, but it’s not without its headaches. VBA scripts can introduce security risks, get blocked by company IT policies, and often break when Outlook updates.
Honestly, unless you enjoy tinkering with and maintaining code, you're much better off with the Template or Quick Steps methods. They give you a great balance of convenience and simplicity without the tech support nightmare.
Advanced Automation and Common Pitfalls
Getting your Power Automate flow live is the biggest step toward a true Microsoft 365 recurring email setup. But the real secret to making it last isn't just building it—it's knowing how to keep it running smoothly. Let's cover a few of the more advanced details and common tripwires I've seen pop up.
Getting these right is what separates a brittle, one-off automation from a workflow you can actually rely on.
Who's Sending This, Anyway?
One of the first things you'll want to sort out is sender permissions. Should the email come from you personally, or from a shared mailbox like support@company.com?
For anything team-related, I almost always recommend a shared mailbox. This prevents the entire workflow from grinding to a halt if you're on vacation or, heaven forbid, you leave the company. To make this work, you'll need an admin to grant your account "Send As" permissions on that shared mailbox first.
Another classic snag is authentication errors. When you change your Microsoft 365 password, your flow's connection to Outlook will break. The flow will just start failing. It's a simple fix—just head back into Power Automate, find the broken connection, and sign in again—but it trips people up all the time.
Managing Dynamic Lists and Knowing Your Limits
The real magic happens when you stop hardcoding email addresses and start using dynamic lists. You can easily point your flow to a SharePoint list or even an Excel file tucked away in OneDrive.
This approach is perfect for things like team newsletters or project updates where the recipient list is always changing. The flow just grabs the latest version of the list every time it runs, so you never have to edit the automation itself.
It's also crucial to know what you can't do. Power Automate isn't a marketing platform, so you won't get built-in tracking for things like open or click rates. If you need that kind of data, you're better off with a dedicated email tool. For a look at what's possible in that world, these marketing automation workflow examples can give you some great ideas.
Understanding the reporting tools you already have in Microsoft 365 helps set the right expectations. You can't track individual opens, but admins do have some visibility into overall email traffic.
The Email Activity report in the admin center can show you general trends for sends and receives across your organization. Just be aware of its limitations. For example, the data only goes back 180 days, which makes year-over-year comparisons a challenge unless you specifically ask Microsoft support to pull older data for you.
Ultimately, you have to be ready to troubleshoot. Flows fail for all sorts of reasons—an admin might change a setting that blocks a connector, or a simple typo could creep into an email address. Get in the habit of checking your flow’s run history every so often. It's a proactive step that can save you from discovering a broken email loop weeks after it went silent.
When to Use a Dedicated Email Scheduling Tool
Listen, Power Automate is a beast for setting up a microsoft 365 recurring email, but sometimes it feels like using a sledgehammer to crack a nut. It's not always the most practical choice, especially when all you really need is to send a simple, scheduled message without a fuss.
This is where a dedicated email scheduling tool comes in. Think of it as a fantastic little productivity hack—an invisible tool that handles one specific job perfectly without a steep learning curve. Power Automate is the entire toolkit, but a specialized app is that one screwdriver you reach for constantly. These tools are built for one job, and they do it incredibly well, usually with a much friendlier interface.

Prioritizing Simplicity and Direct Control
The biggest win for a dedicated tool like Recurrr is its laser focus on simplicity. You’re not building multi-step flows or messing with connectors. You just write your email, pick your recipients, and set a schedule. That's it. It all happens in one place.
This approach completely strips away the technical overhead. It's a lifesaver for anyone who finds Power Automate a bit intimidating or just doesn't have the time to build and manage complex workflows.
A dedicated tool isn't about replacing your Microsoft 365 suite. It's an additive layer, a hidden gem that handles a specific, repetitive task with minimal fuss so you can stay focused on your primary work.
For example, a property manager sending monthly rent reminders doesn't need a sprawling automation platform. Neither does a freelancer dispatching weekly status updates. They just need a reliable, set-it-and-forget-it system.
Key Features a Dedicated Tool Offers
Beyond a simple interface, these tools bring some great quality-of-life features that you won't always find in native solutions.
- Effortless Management: You can easily pause, skip, or edit a recurring email without having to dig into a complex flow. It's all right there.
- Clear Visibility: Most offer a single dashboard where you can see all your scheduled emails. This makes it incredibly easy to track what's going out and when.
- No Technical Jargon: The entire experience is built for everyday users, not IT pros. You don't need to understand expressions or variables.
Ultimately, opting for a dedicated scheduler is about choosing ease of use and direct control for specific tasks. It’s the perfect, lightweight solution when you want the benefits of automation without having to become an automation expert yourself.
Common Questions About Recurring Emails in Microsoft 365
When you start digging into setting up a Microsoft 365 recurring email, a few questions always seem to pop up. Let's walk through some of the most common ones I hear and get you some clear answers.
Can I Set Up Recurring Emails in Outlook Without Power Automate?
Yes and no. It really depends on what you mean by "set up."
You can't create a truly hands-off, automated recurring email directly within the Outlook desktop app itself. There’s no built-in feature for that. The best workaround involves a bit of manual effort: you create an email template and then set up a recurring calendar reminder that tells you to send it. When the reminder pops up, you open the template and hit send. It works, but it's not exactly "set it and forget it."
For that level of true automation—where the email just goes out on schedule without you lifting a finger—Power Automate is Microsoft's intended tool for the job.
How Do I Send Emails to a Changing List of People?
This is where a tool like Power Automate really earns its keep. Instead of hard-coding a static list of email addresses into your workflow, you can point your flow to a dynamic source that you can update anytime.
My favorite trick: Use a SharePoint List or even a simple Excel file saved in OneDrive as your master list. When you need to add or remove someone, you just edit that single file. Your Power Automate flow will automatically pull the updated list the next time it runs, no need to ever touch the automation itself.
Will My Automated Email Stop If I Change My Password?
Absolutely. This is probably the number one reason I see automated flows fail.
Your Power Automate flows are built on authenticated connections tied directly to your Microsoft 365 login. The moment you change your password, that connection token breaks, and your flow will start failing.
Fixing it is easy, but you have to remember to do it. Just hop back into Power Automate, find the connection that's throwing an error, and re-authenticate it with your new password. It's a quick but essential piece of maintenance.
If you're looking to bypass the technical setup in Power Automate altogether, Recurrr offers a dead-simple way to get your recurring emails scheduled. It’s built specifically for this purpose, letting you set up repeating messages in just a few minutes, without needing to mess with complex workflows or manual reminders. Check it out at https://recurrr.com.